
Personal Artefact Repository with Nexus and Docker
what you will learn (or remember)
As a cool open source developper, you have a bunch of code and libraries hanging around and would like to publish them so other people have access to them.
While you can do the work to get published on maven central: https://maven.apache.org/guides/mini/guide-central-repository-upload.html
Sometimes it is just better to get there by yourself and setup a private repository. Let’s see how how to do this using nexus.
get nexus started
# data part, prepare a folder for the nexus data
mkdir -p /home/niko/nexus/data

# docker part
docker run -d -p 8081:8081 --name nexus -v /home/niko/nexus/data:/nexus-data sonatype/nexus3
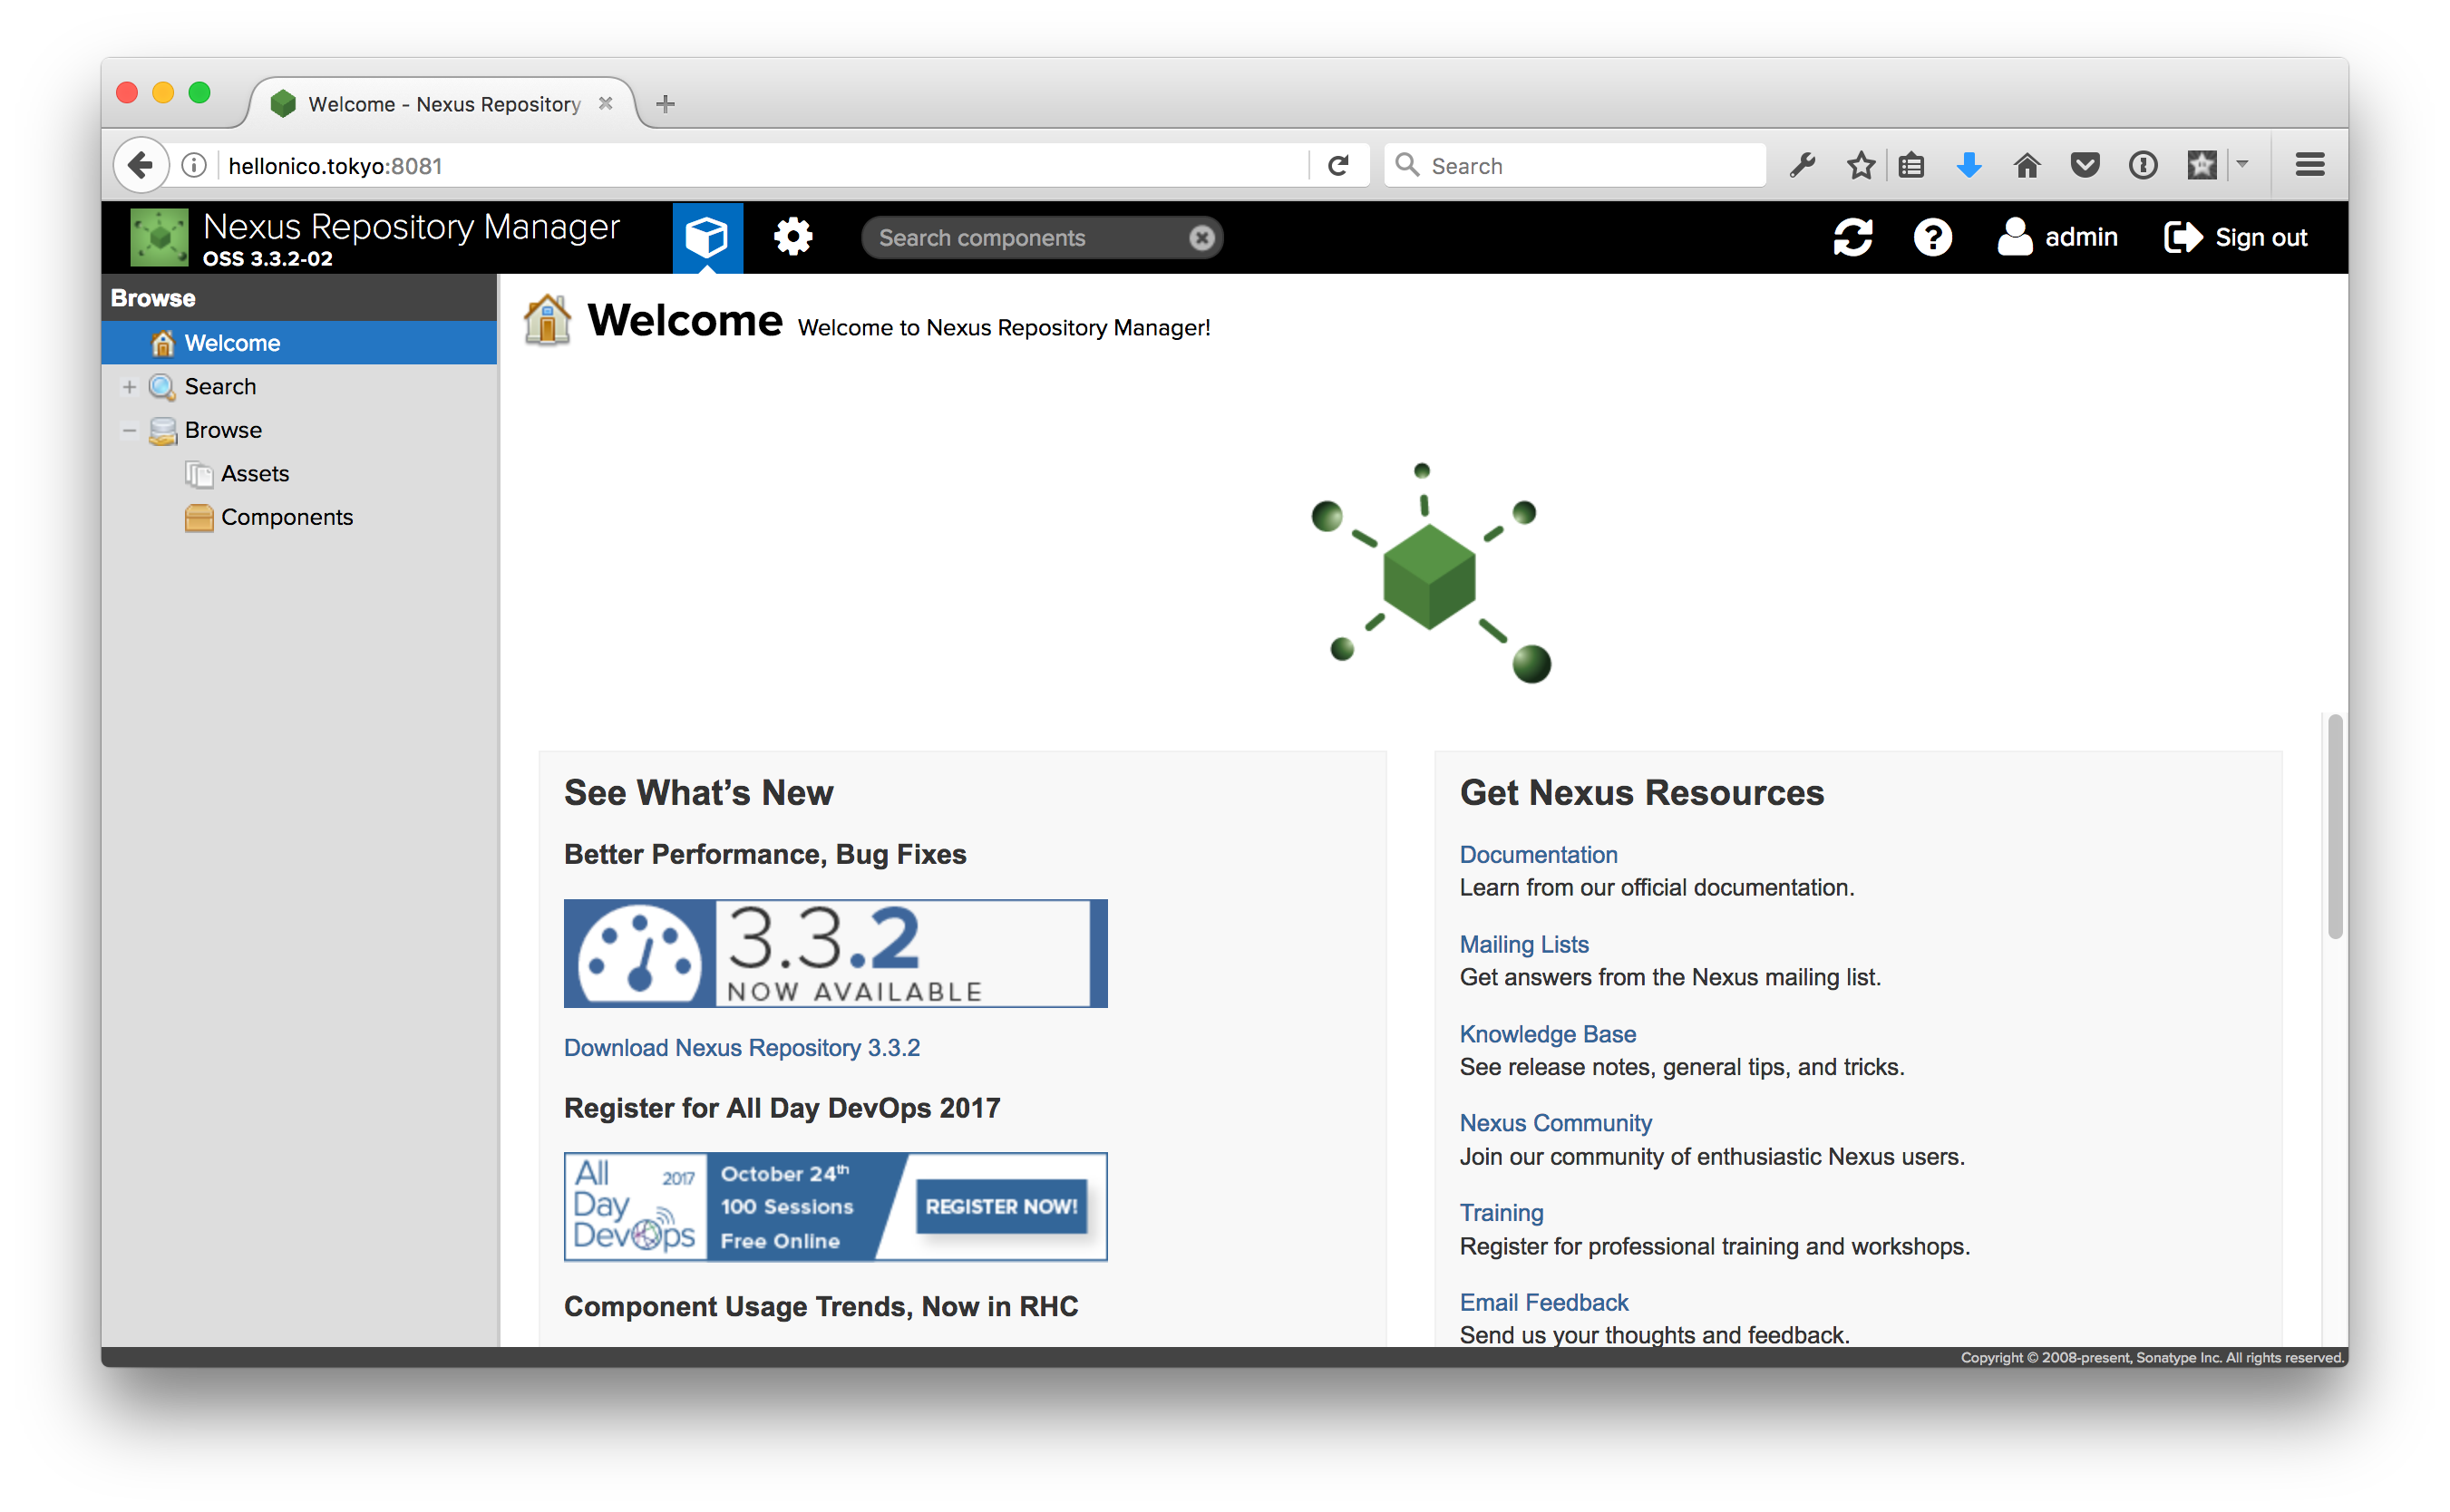
As you can see the docker port mapping is done from 8081 to 8081, so the nexus repository will be running on that port. Nexus is ready and started:
work on your maven pom file
SonaType has a section on how to work with maven settings. Here is a super short version to get things going.
the pom file
Add the following section in the pom.xml to tell maven to start publishing to a new repository, here with id hellonico.
    <distributionManagement>
      <repository>
        <id>hellonico</id>
        <url>http://hellonico.info:8081/repository/hellonico/</url>
      </repository>
    </distributionManagement>
edit a file name settings.xml
<?xml version="1.0" encoding="UTF-8"?>
<settings xmlns="http://maven.apache.org/SETTINGS/1.1.0"
  xmlns:xsi="http://www.w3.org/2001/XMLSchema-instance"
  xsi:schemaLocation="http://maven.apache.org/SETTINGS/1.1.0 http://maven.apache.org/xsd/settings-1.1.0.xsd">

  <servers>
    <server>
      <id>hellonico</id>
      <username>admin</username>
      <password>admin123</password>
    </server>
  </servers>

</settings>
make sure the version in the pom is not a snapshot version
    <modelVersion>4.0.0</modelVersion>
    <groupId>org.hellonico</groupId>
    <artifactId>imgscalr-lib</artifactId>
    <version>4.3</version>
    <packaging>jar</packaging>
finally, tell maven to deploy your artefact
mvn deploy -DskipTests=true
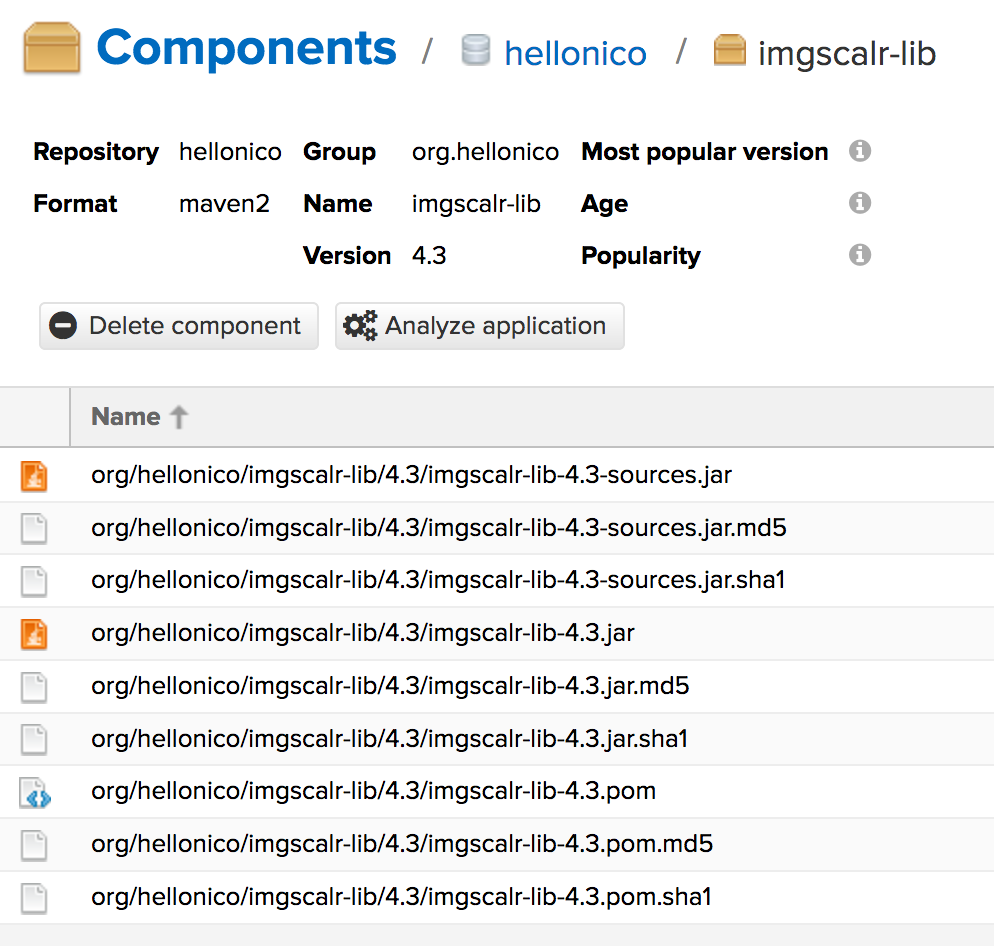
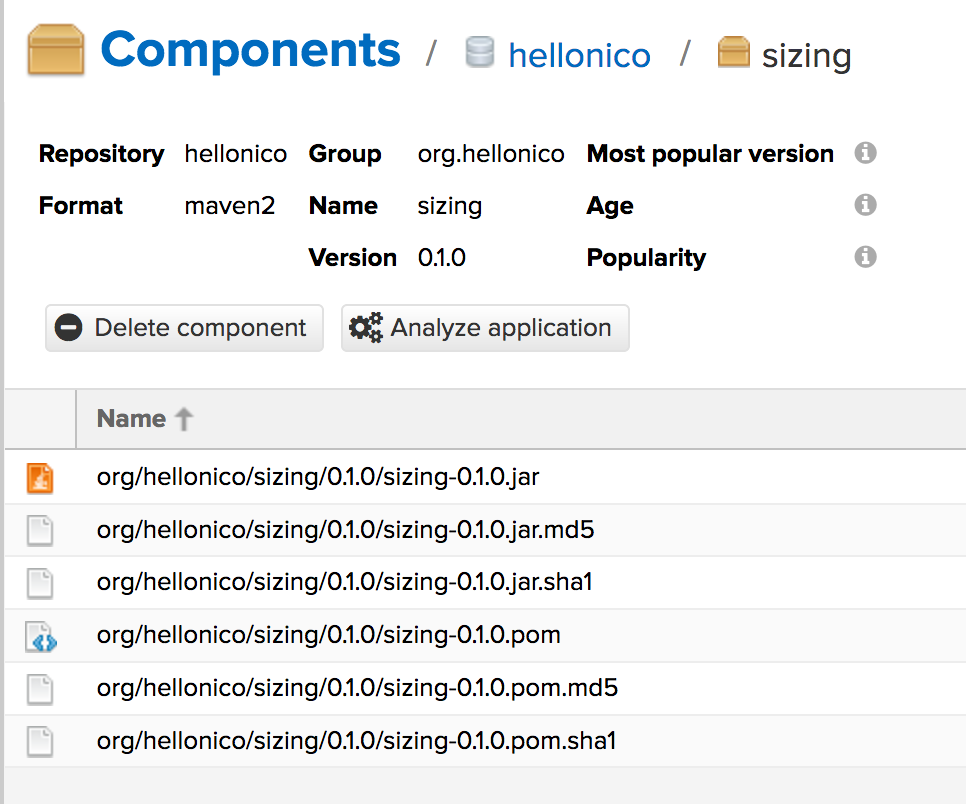
… and enjoy a quick look at the uploaded artefacts
to upload with leiningen
The complete documentation can be found on the leiningen deploy page.
edit project.clj
Basically, add the following section to the project.clj, add :sign-releases to false to get started.
:repositories {"hellonico"   {
    :sign-releases false
    :url "http://hellonico.info:8081/repository/hellonico/"}}
add the authentication settings in the file: ~/.lein/profiles.clj
{
  :auth {:repository-auth {#"hellonico" {:username "xxx"
                                      :password "xxx"}}}
}
then tell leiningen to deploy to the given repository
lein deploy hellonico
where hellonico is the repository id.
access the newly uploaded library from your projects
from gradle
  repositories {
        mavenCentral()
        maven {
            url "http://hellonico.info:8081/repository/hellonico/"
        }
    }
or with authentication:
repositories {
            mavenCentral()
            maven {
               credentials {
                   username xxx
                   password xxx
               }
               url    'http://hellonico.info:8081/repository/hellonico/'
            }
}
from maven
<repositories>
    <repository>
        <id>maven-restlet</id>
        <name>Public online Restlet repository</name>
        <url>http://hellonico.info:8081/repository/hellonico/</url>
    </repository>
</repositories>
from leiningen
To get the dependency to be retrieved from Leiningen/ add the following repository entry to your project.clj file.
:repositories
  {"hellonico"   {:url "http://hellonico.info:8081/repository/hellonico/"}}